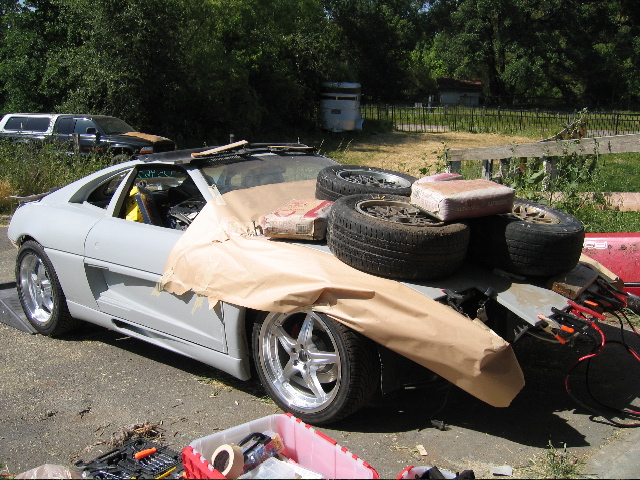
Photo log of build:
| The Crew: | |
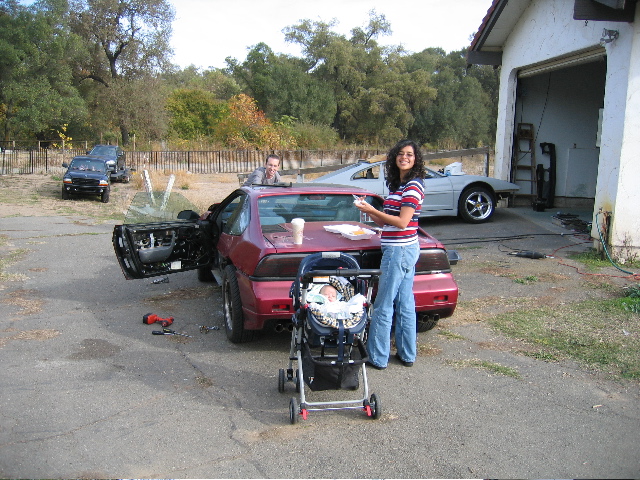 |
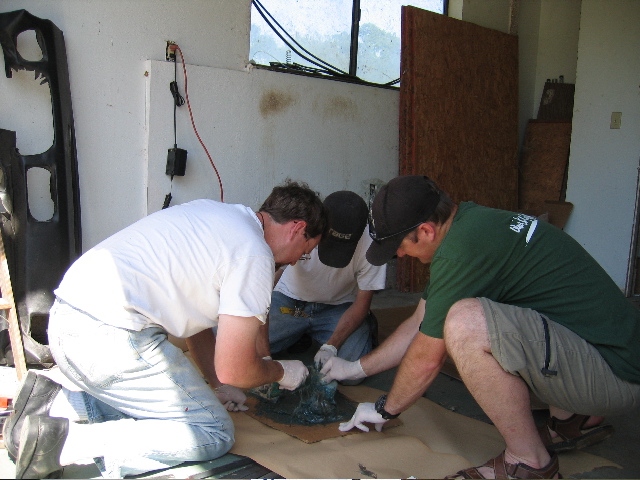
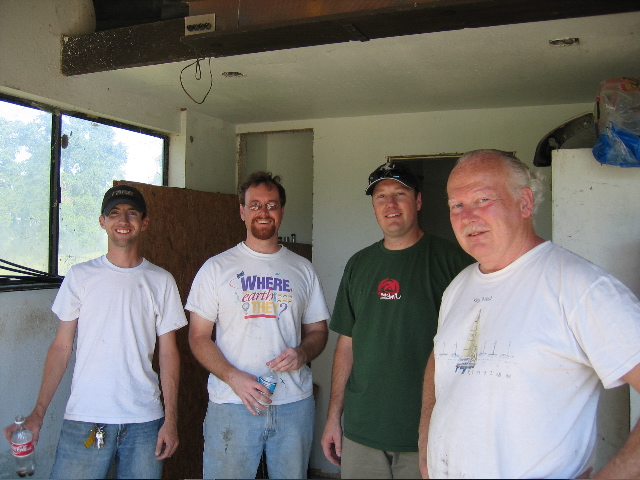
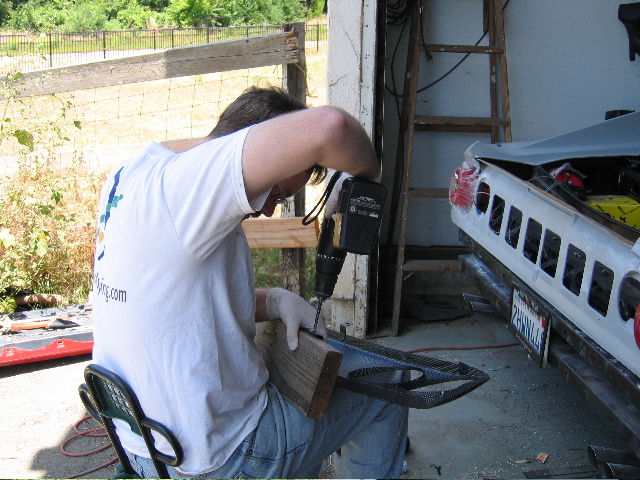
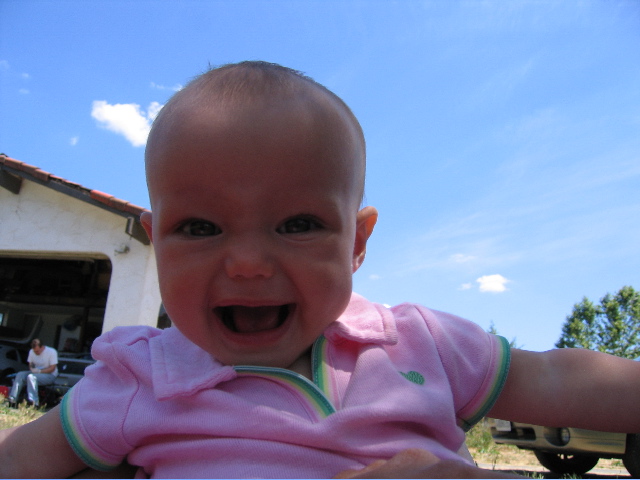
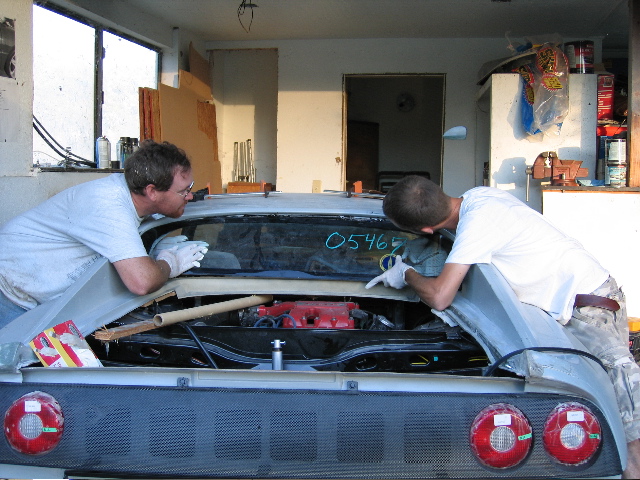
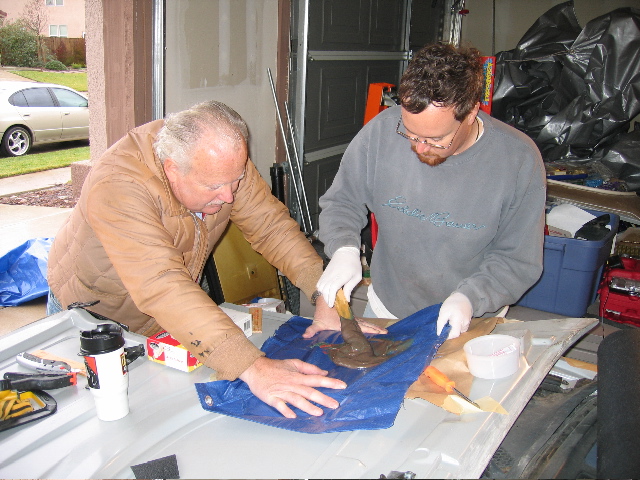
When it comes to projects like this, the people involved are everything. Chris (aka the expert) can be seen taking the hood off of my car. My wonderful wife brought breakfast and coffee. My 2-month old daughter can be seen in her mobile command center checking the progress of the build. With out my wife's understanding and encouragement, this project would have never taken off. |
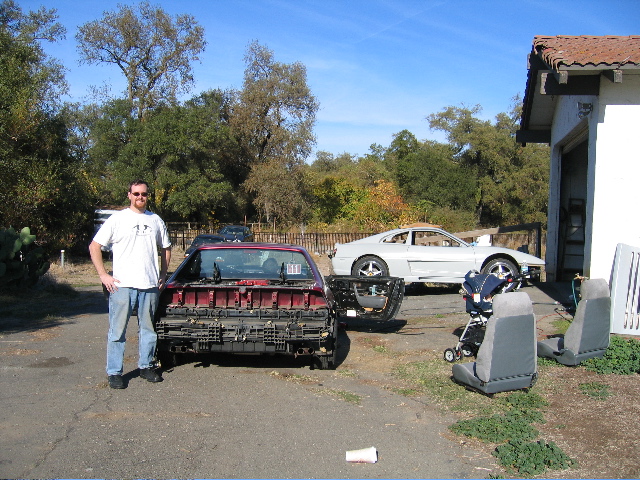
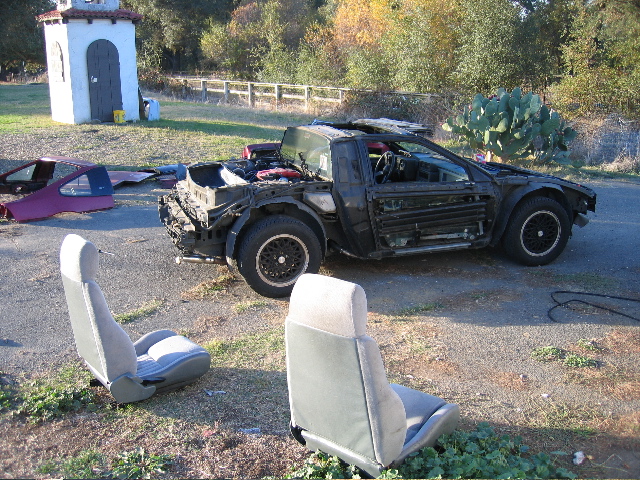
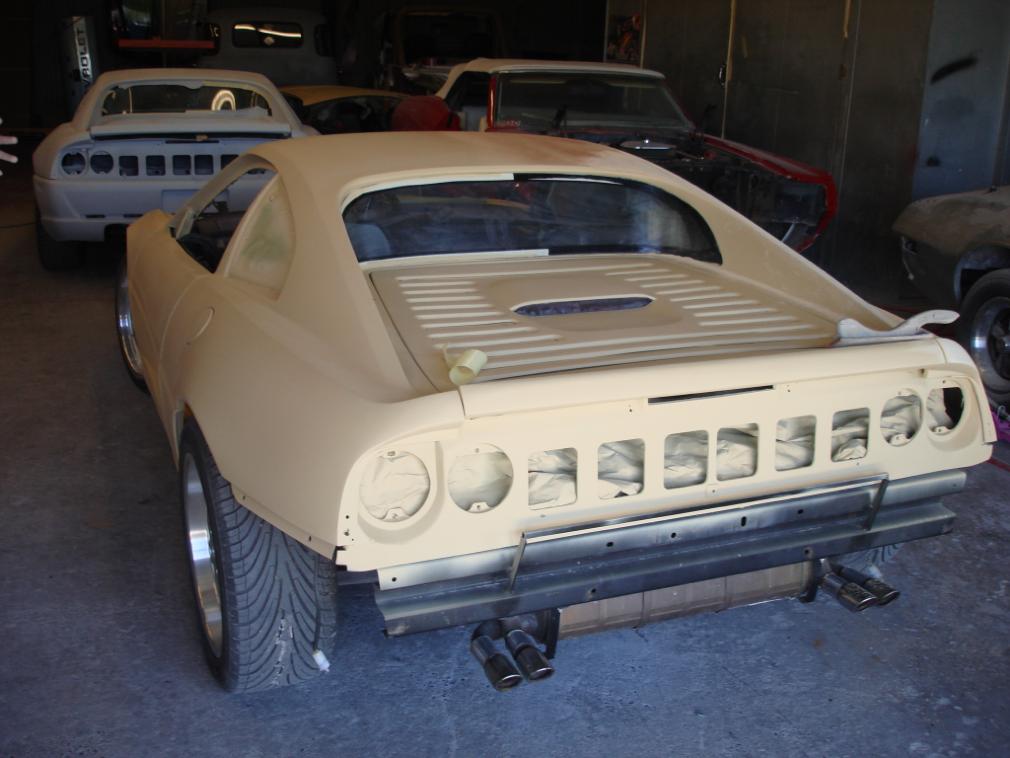
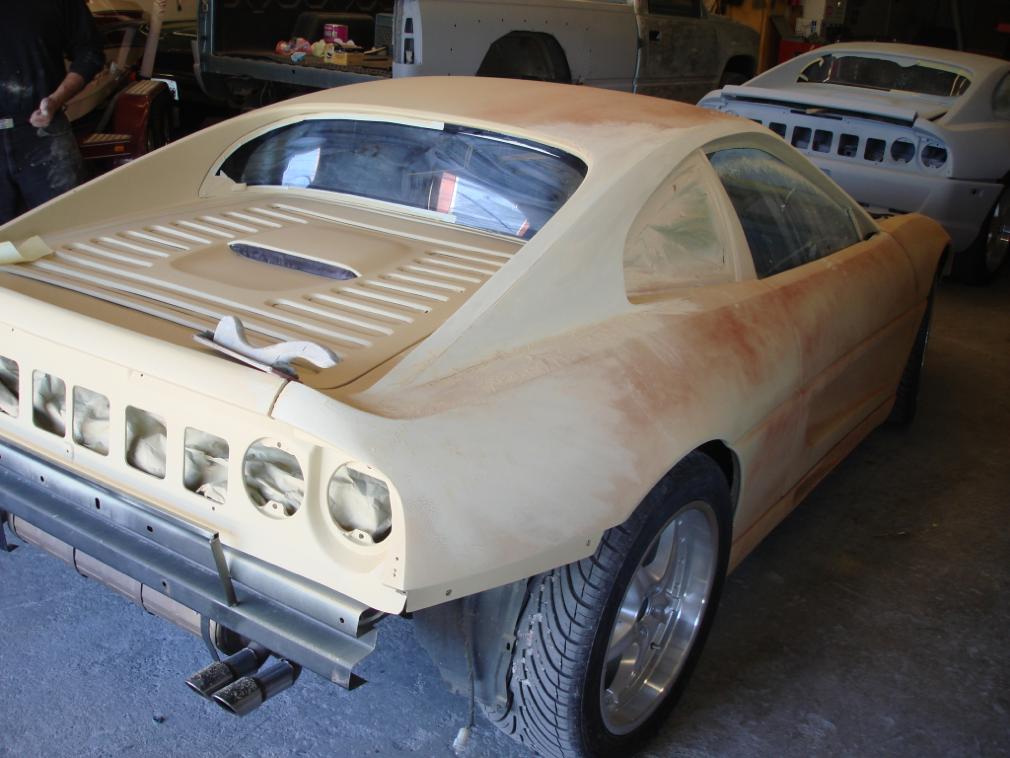
| Tear Down: |

 |
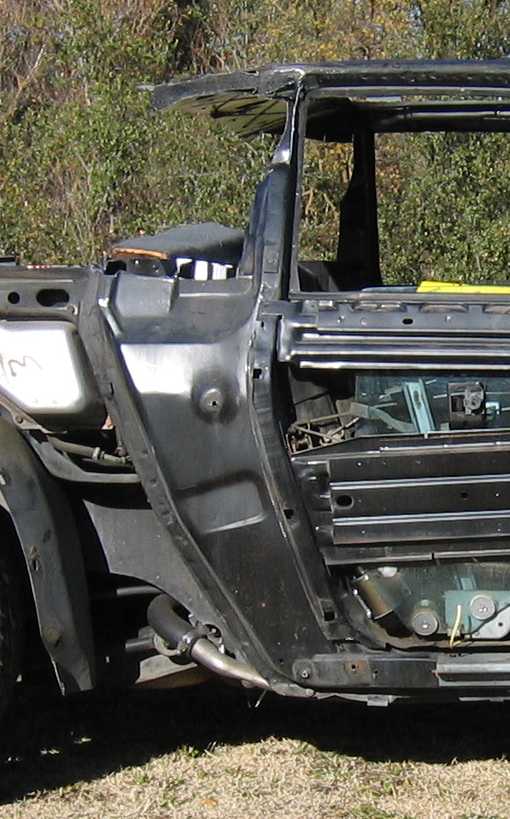
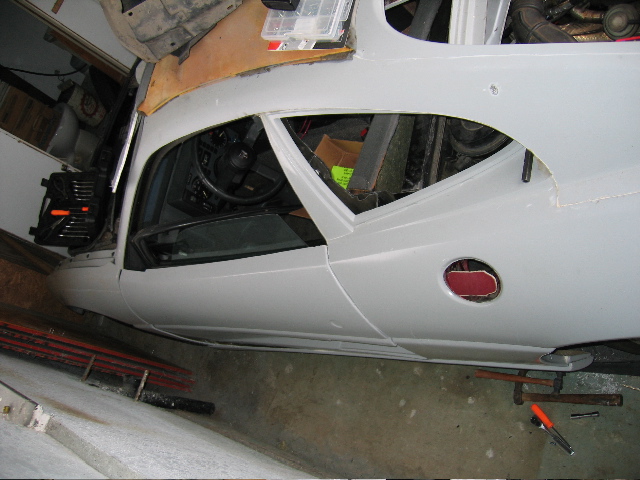
| B-Pillar Cut: Before |
After |
 |
 |
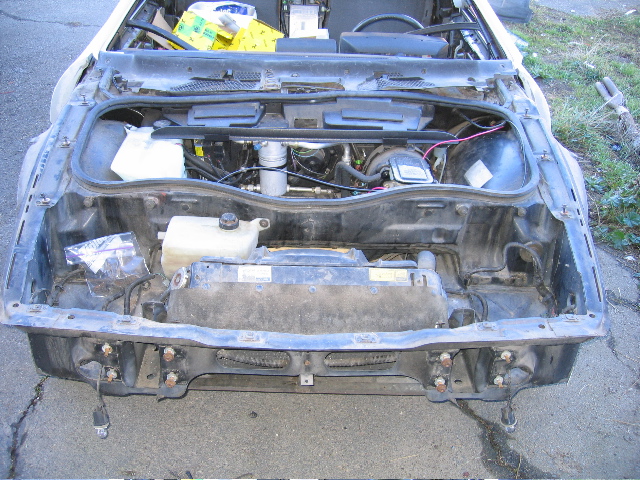
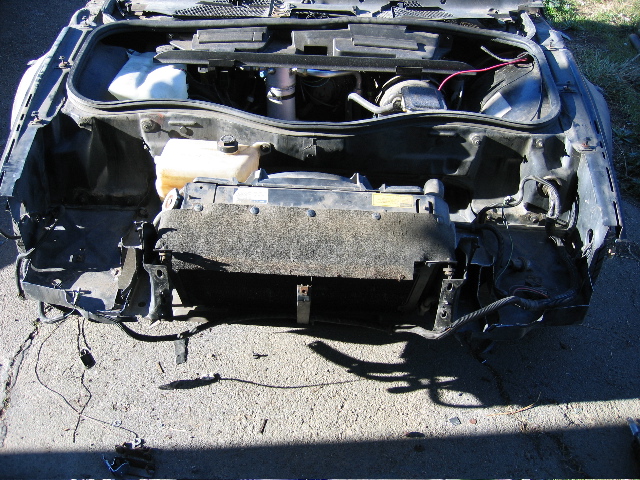
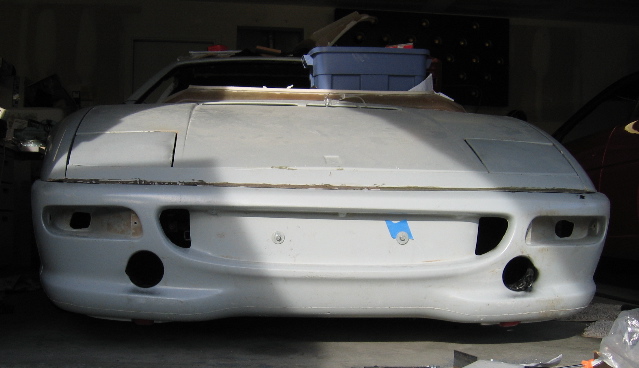
| Front End cut: Before |
After |
 |
 |
| Gluing Down Rear Clip: | |
 |
 |
| Install the fenders and rockers: |
 |
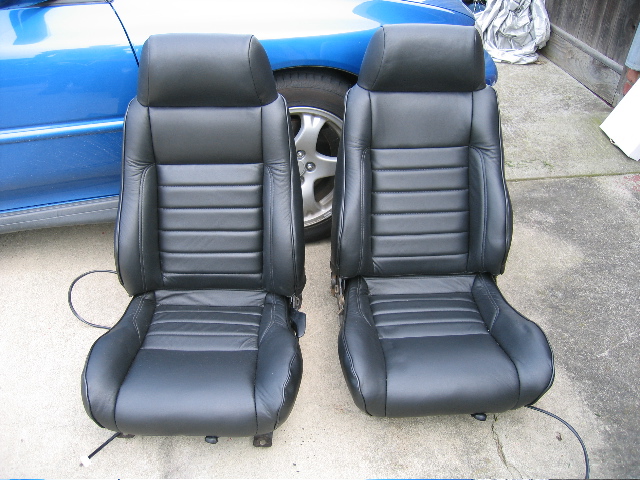
| Install Mr. Mikes leather seats: Before |
After |
 |
 |
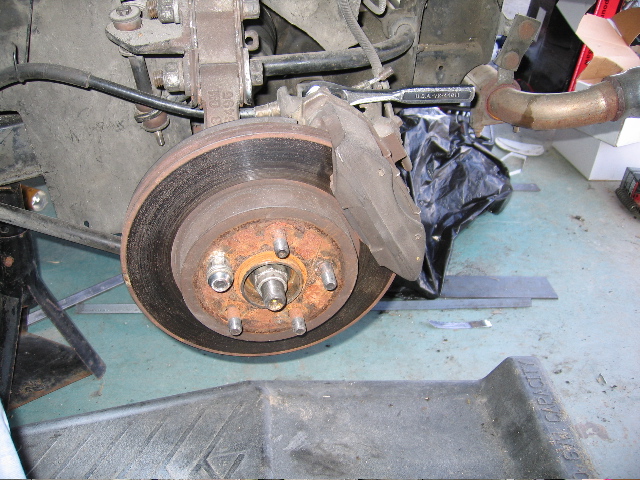
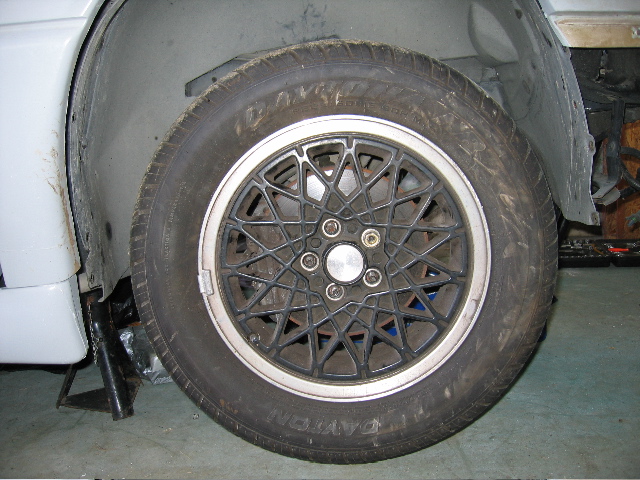
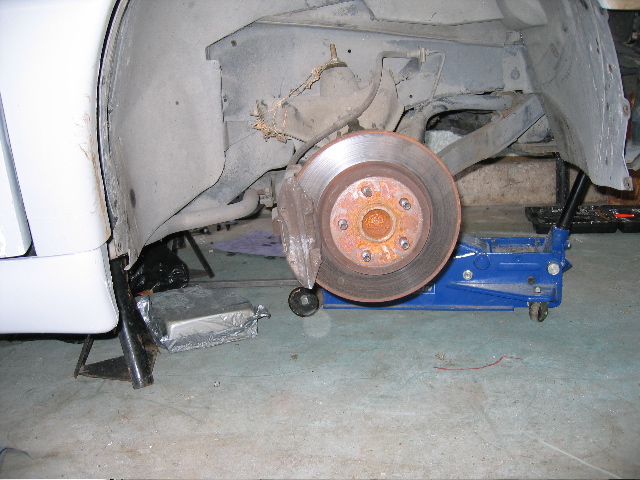
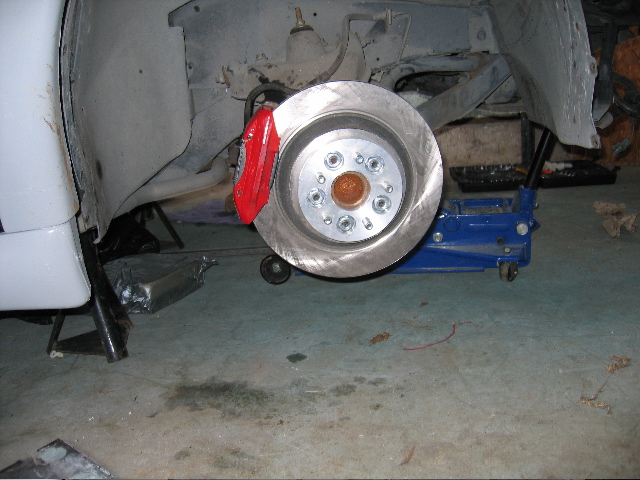
| Rear Corvette Rotors, paint calipers, install spacers and 18" wheels: | ||
| Before | With 12" rotors and 3" spacer |
After |
 |
 |
 |
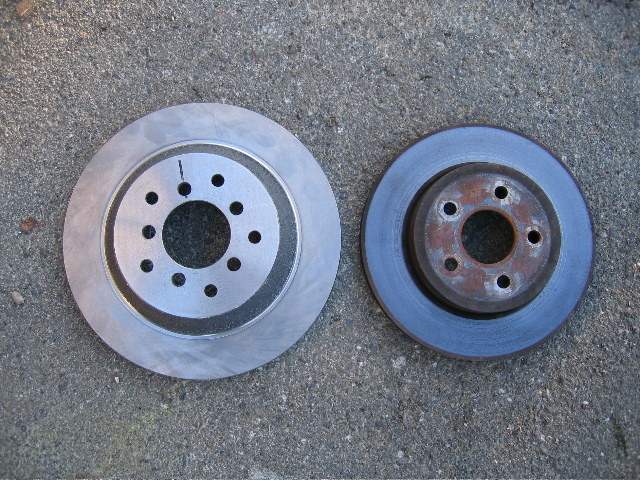
| Corvette C4 vs Fiero rotor |
 |
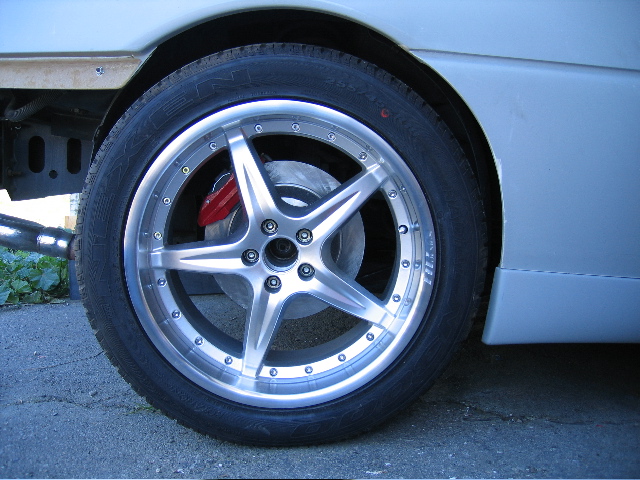
| Front Corvette Rotors, paint calipers, install spacers and 18" wheels: | |||
| Before | Old Brakes | New Brakes and 1" spacer |
After |
 |
 |
 |
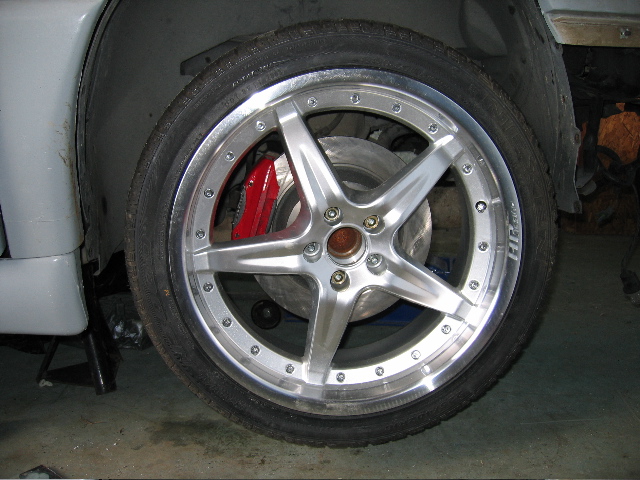 |
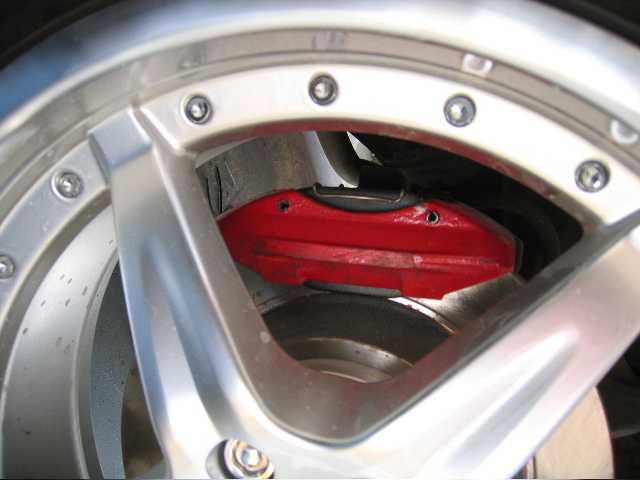
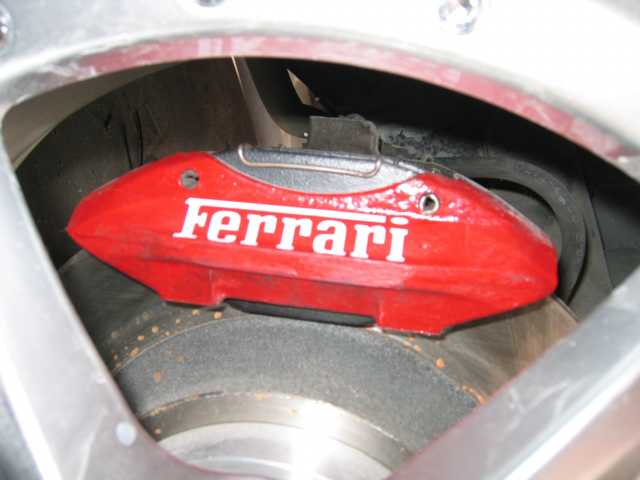
| Front red caliper | With Logo |
 |
 |
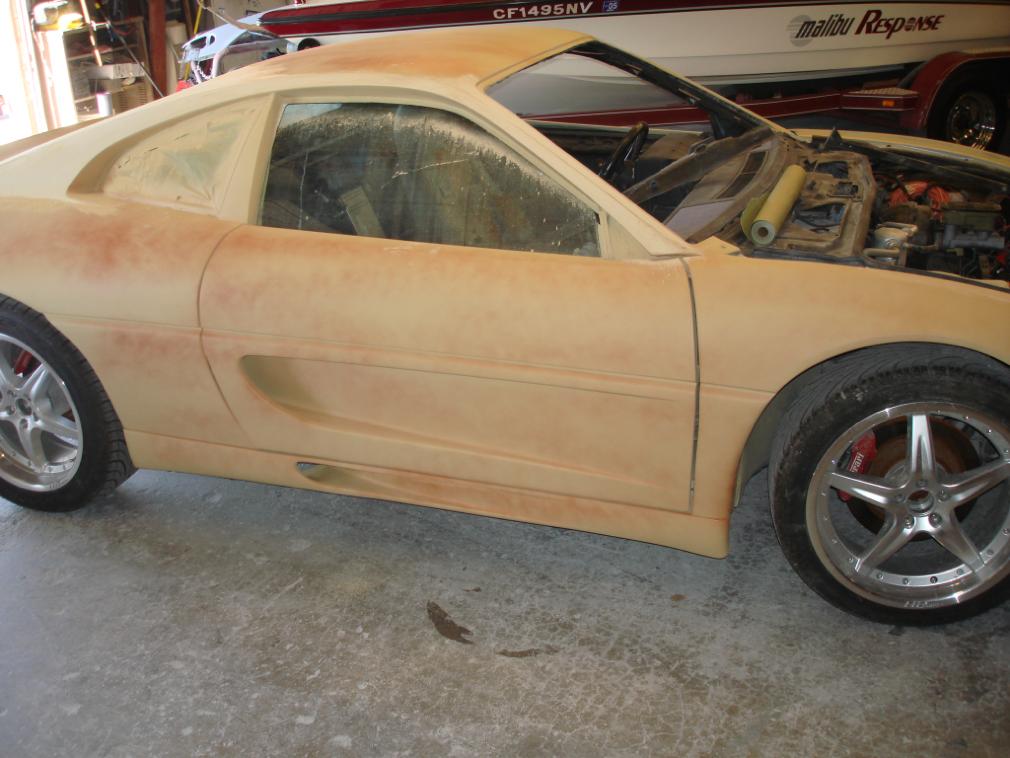
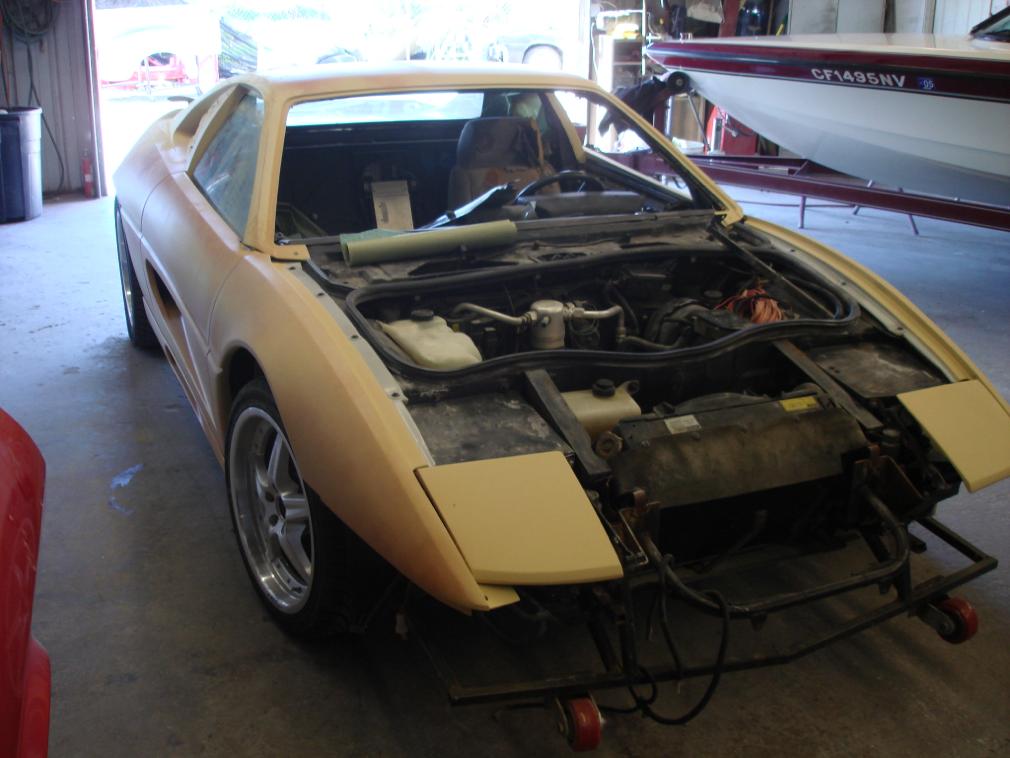
| Trial fit: | ||
 |
 |
 |
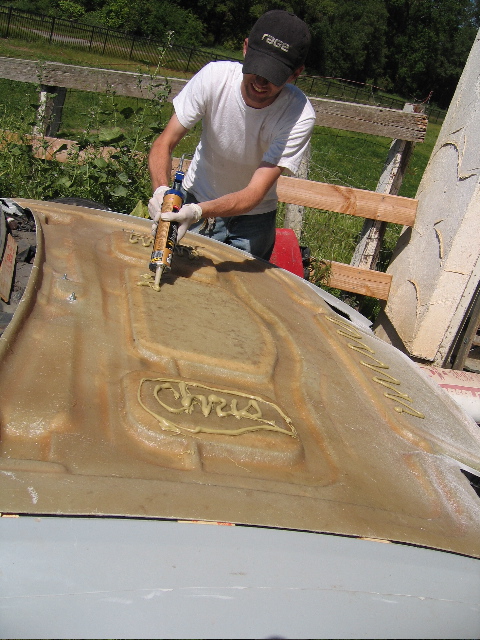
| Bonding the hood: (Kittyhair cures in 3 minutes, so we had to move fast.) | |||
| Caulkmaster in action | Tape up | Mixing Kittyhair | Spreading Kittyhair |
 |
 |
 |
 |
| Weight on hood | Special clamps | The Crew | |
 |
 |
 | |
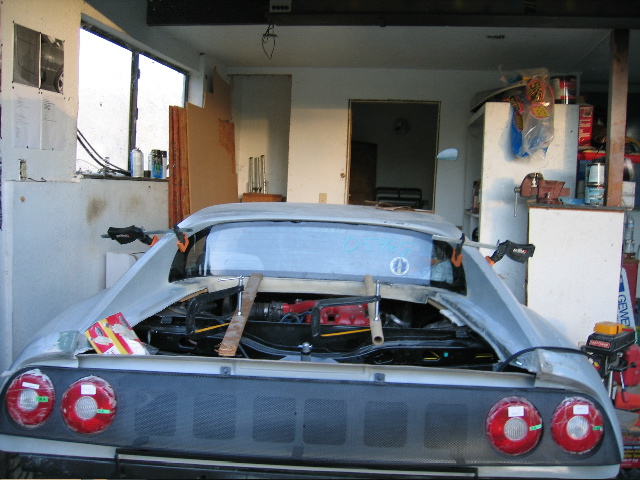
| Installing the inner tail panel: | |
| Drilling the Challenge grill | Help from Sofia |
 |
 |
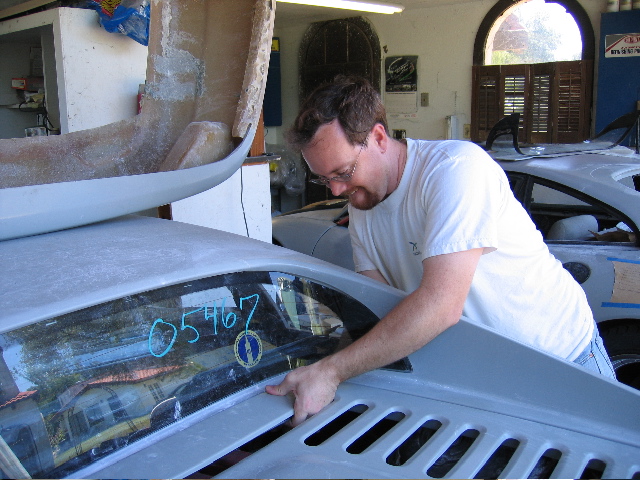
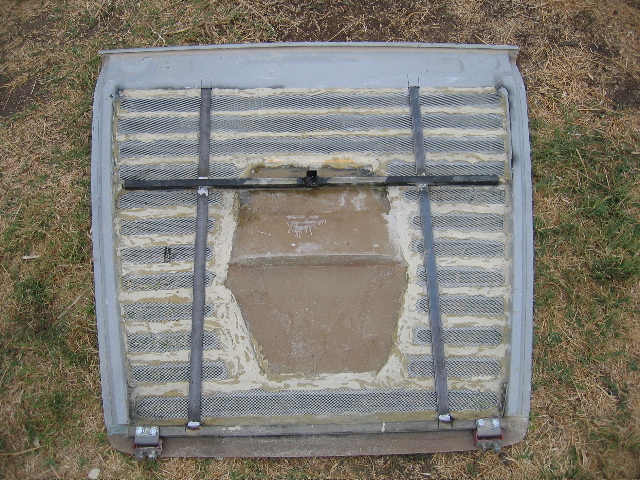
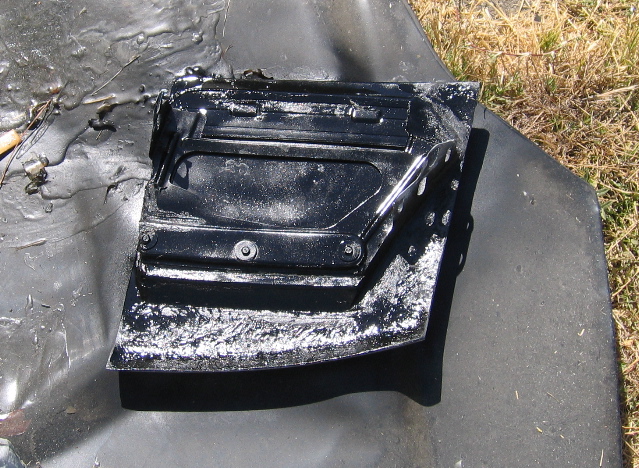
| Installing the decklid: | |||
| Dremel Action | Pinching my right hand | Test fit | Gluing down the wire mesh |
 |
 |
 |
 |
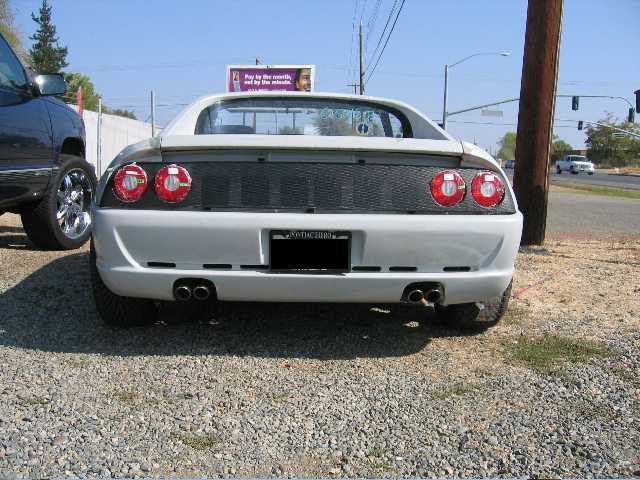
| Deck lid ready | Deck lid painted (38lbs) | Deck lid closed | Deck lid open |
 |
 |
Sofia chilling as dad takes a break.

I also find it ironic that we are building these kits in a barn/stable (or Scuderia if you are Italian)
| Installing the headlight doors: | ||
| The leveling dollops | Finished headlight door | Doors installed |
 |
 |
 |
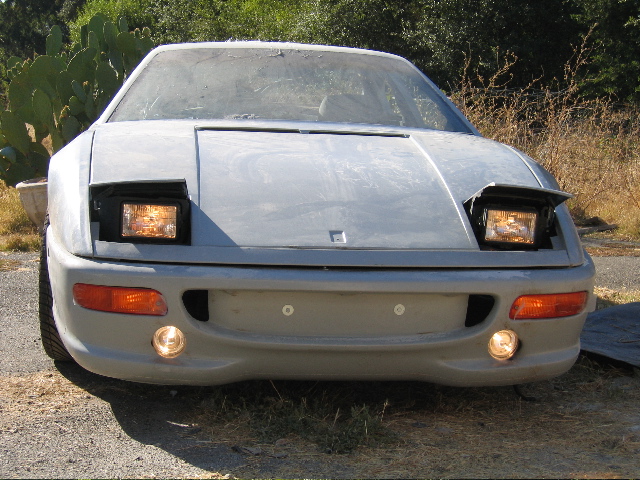
| Front lights: | |
| Everything off | Everything on |
 |
 |
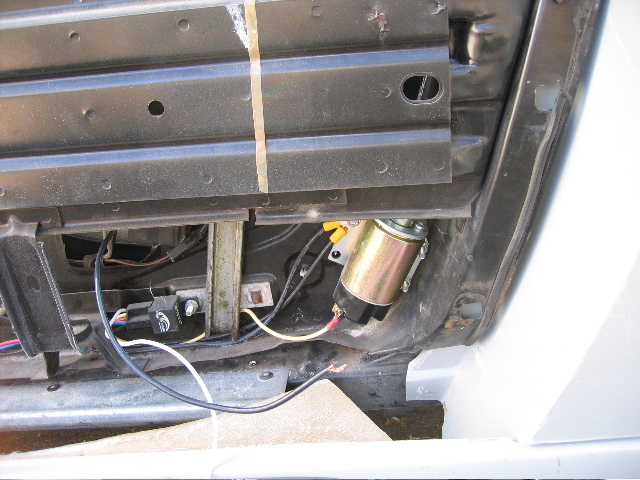
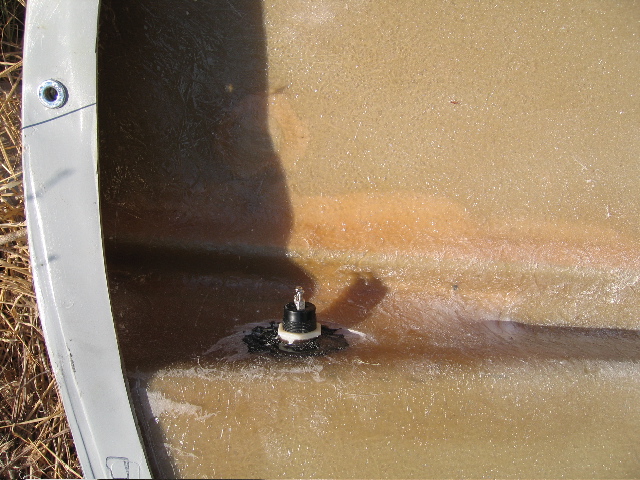
| Doors: | ||
| Door popper solenoid | Door popper switch | Exterior door popper switch |
 |
 |
 |
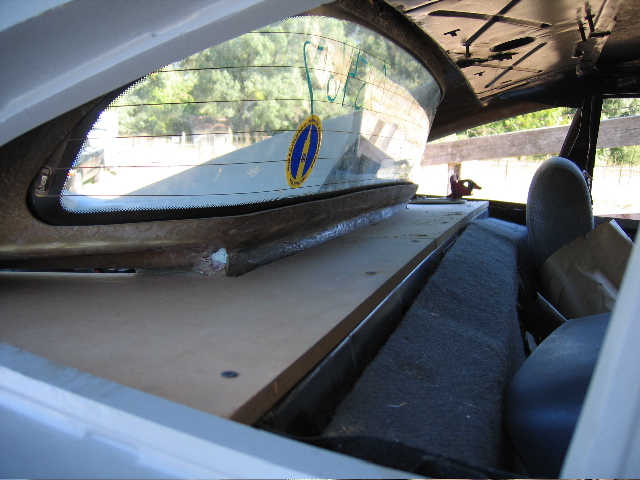
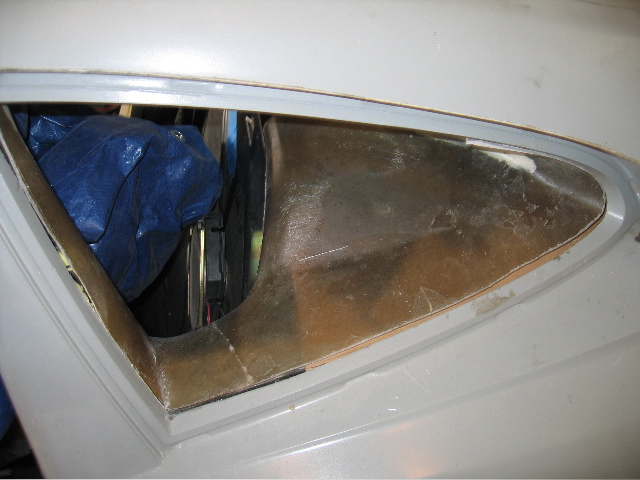
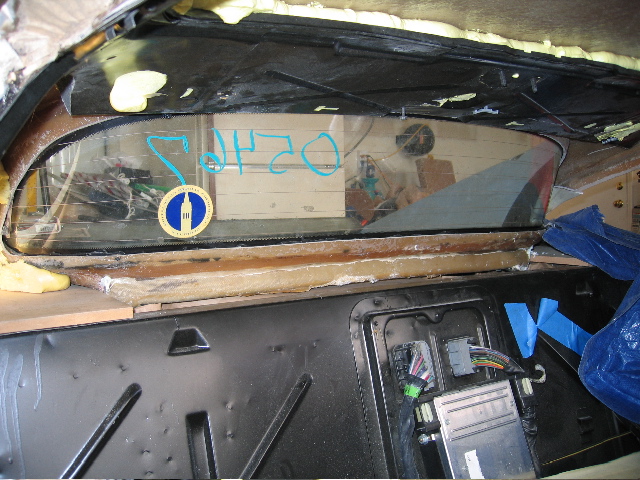
| Installing the rear window: | ||
| Apply thick goo | Place window | Clamp |
 |
 |
 |
| Muffler Installed |
 |
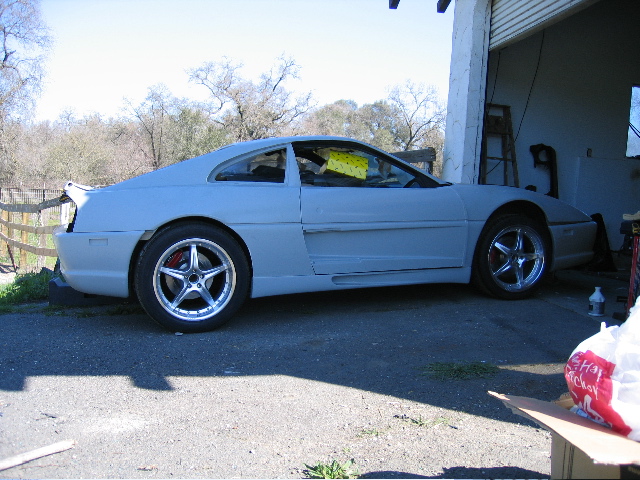
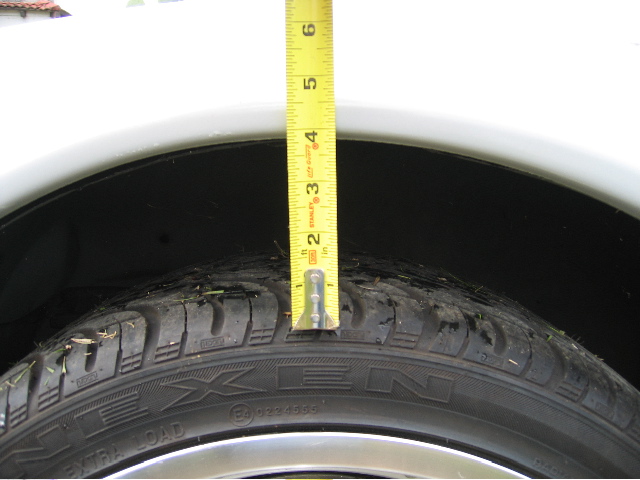
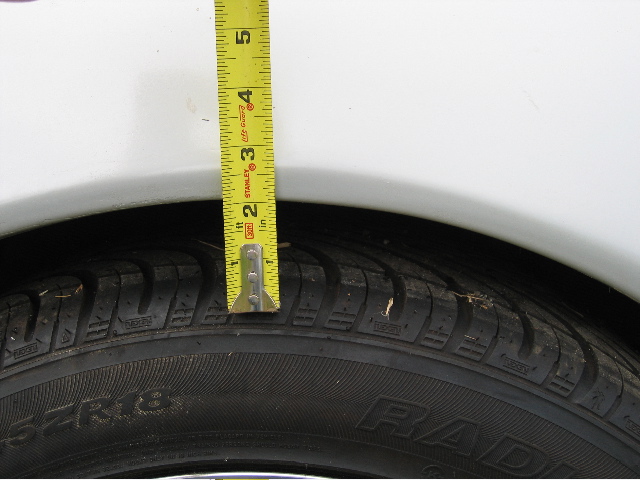
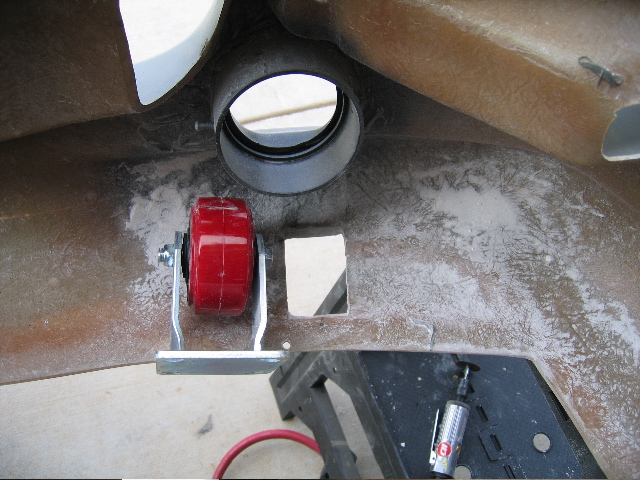
| Wheel gap: | |
| Front End (4" now, 2" to drop) |
Rear End (2" gap) |
 |
 |
 |
 |
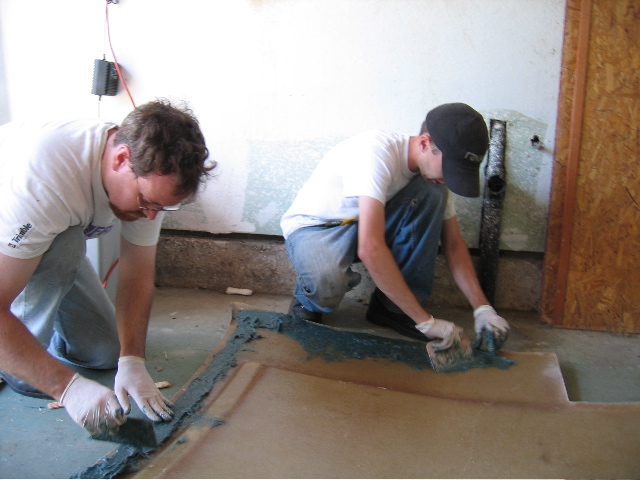
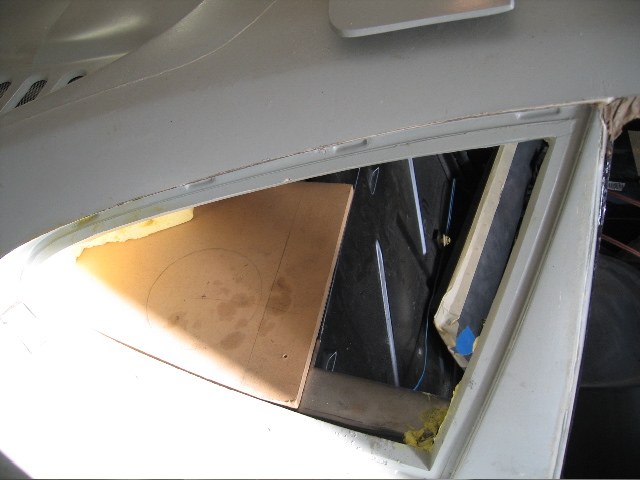
| Filling in A-Pillar / side window trim area: | |
| Mixing Kitty Hair | Squeezing into A-Pillar |
 |
 |
| Front scrape bar | |||
| Cut bumper wheel whole | Tack welded to the chassis | View from the back | front view |
 |
 |
 |
 |
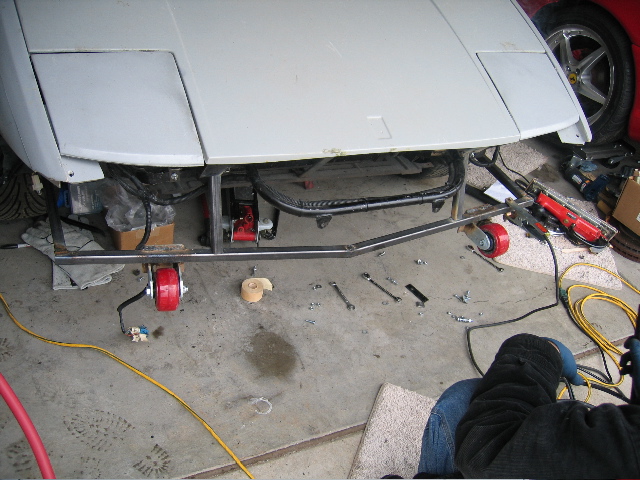
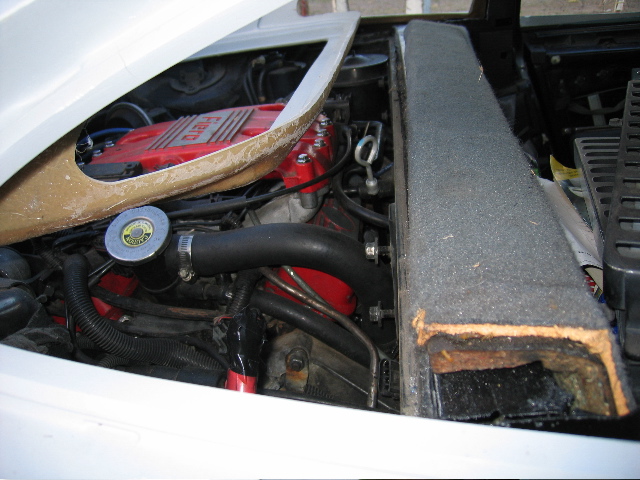
| Firewall | |||
| Firewall area to cover | MDF trial fit | Firewall Installed | Fiberglass test fit |
 |
 |
 |
 |
| Center for hinge plate | |||
 | |||
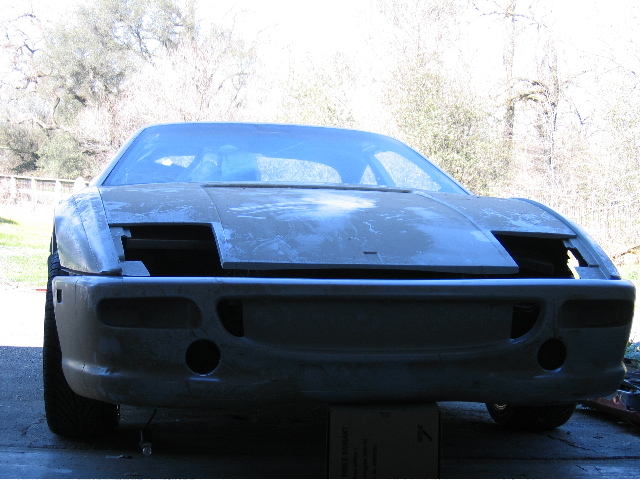
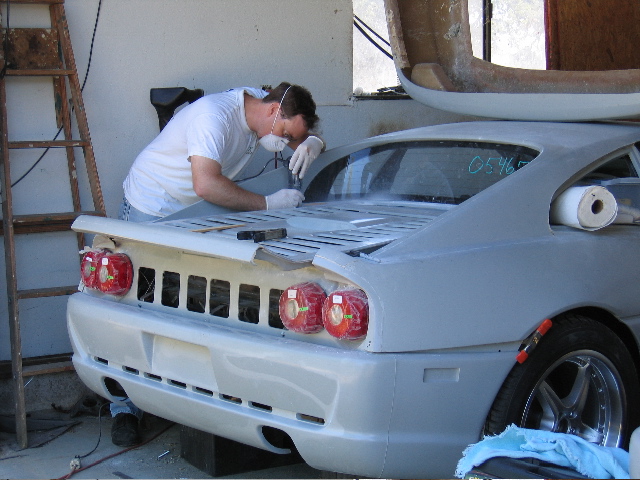
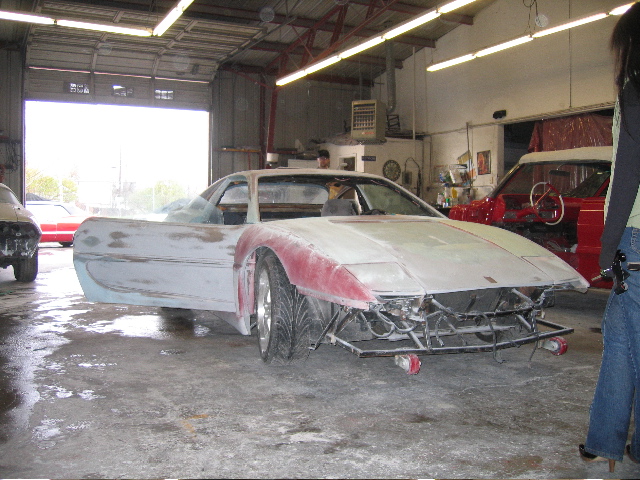
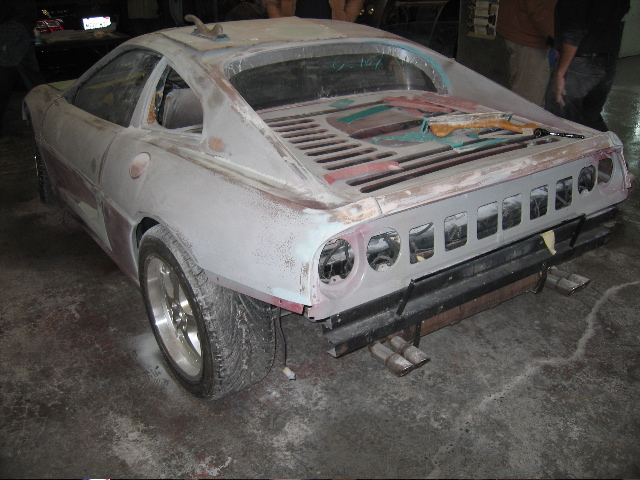
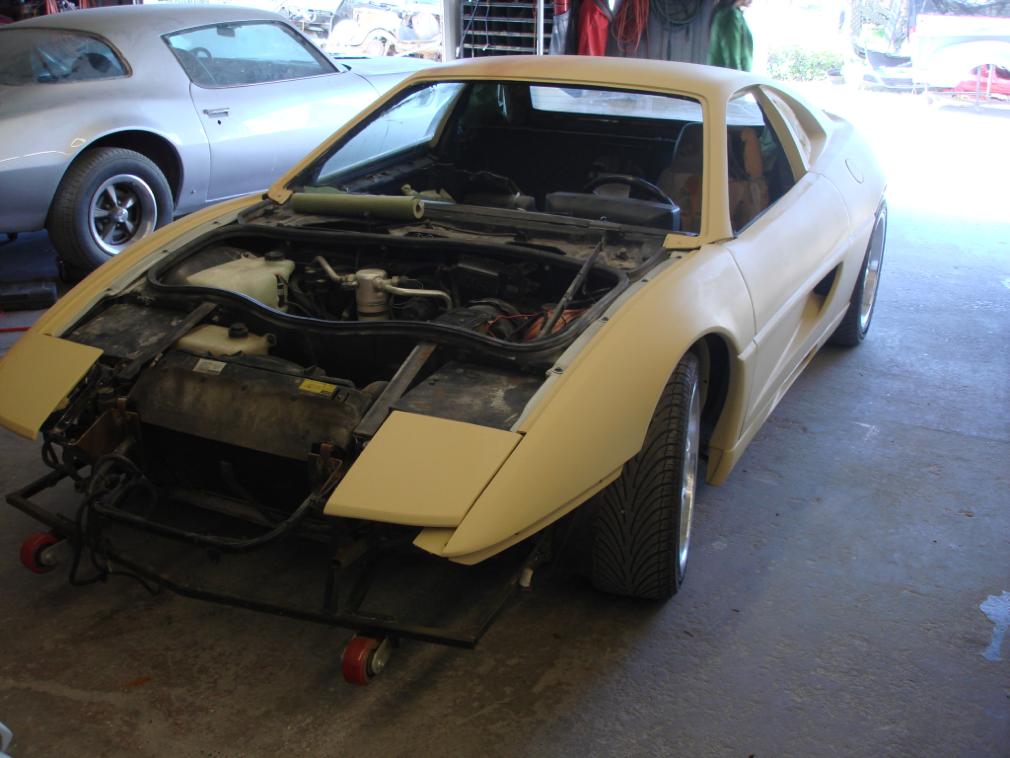
| Last Photo's before going off for paint | |||
 |
 |
 |
 |
| Prep for paint | |||
 |
 |
 |
 |
 |
 |
 | |
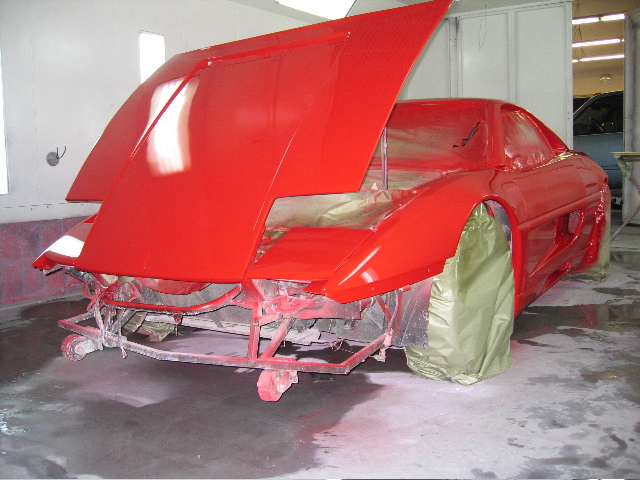
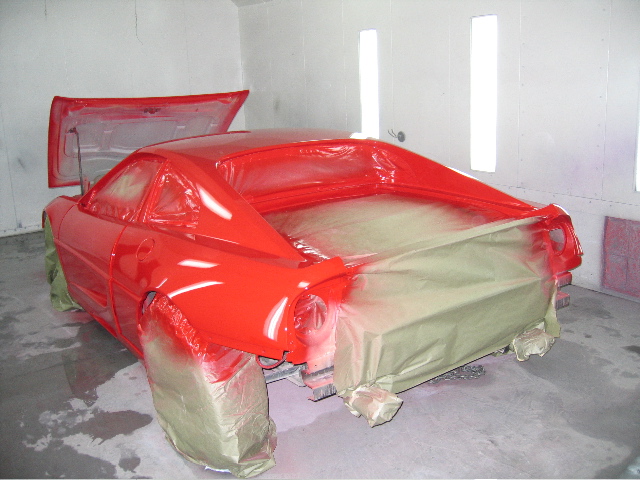
| In the paint booth | |||
 |
 |
 |
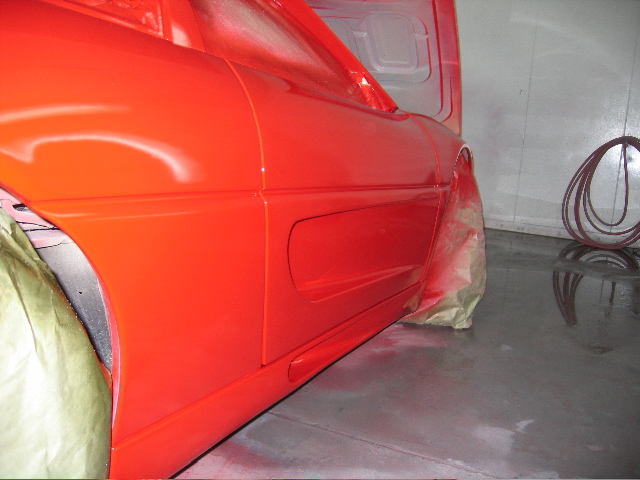 |
| In the the sun getting color sanded | ||
 |
 |
 |
 |
 |
 |
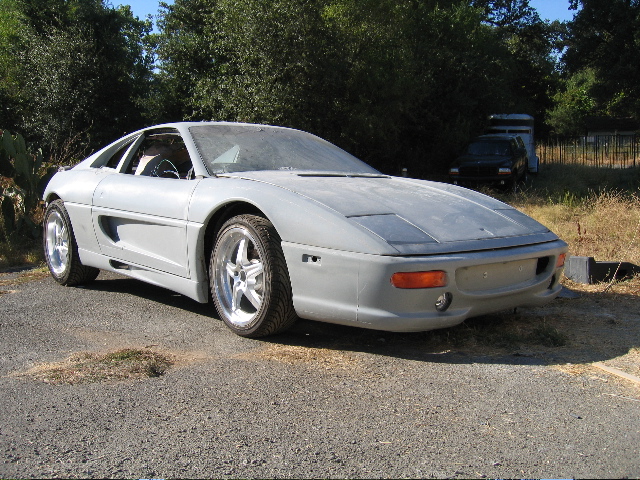
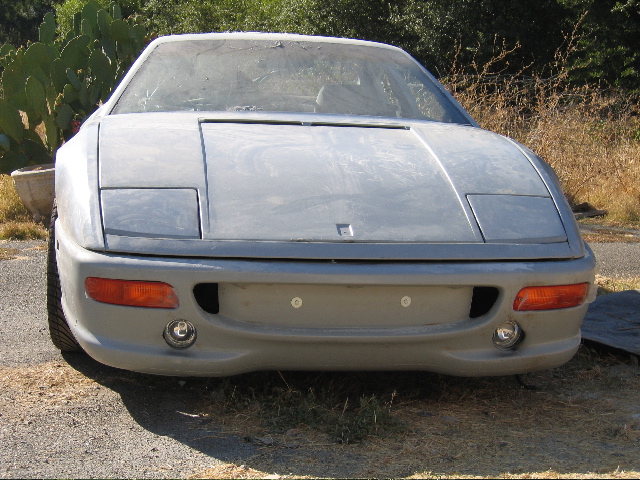
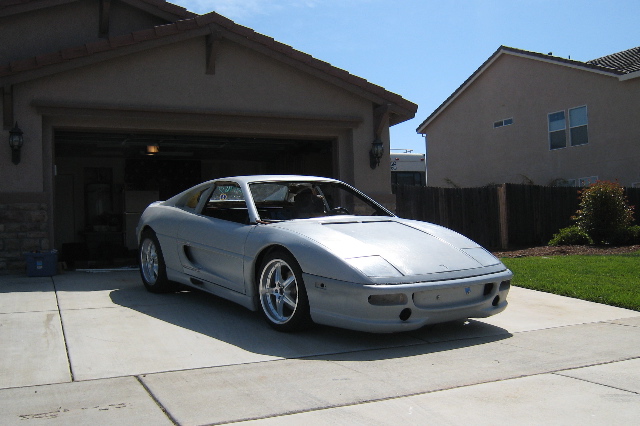
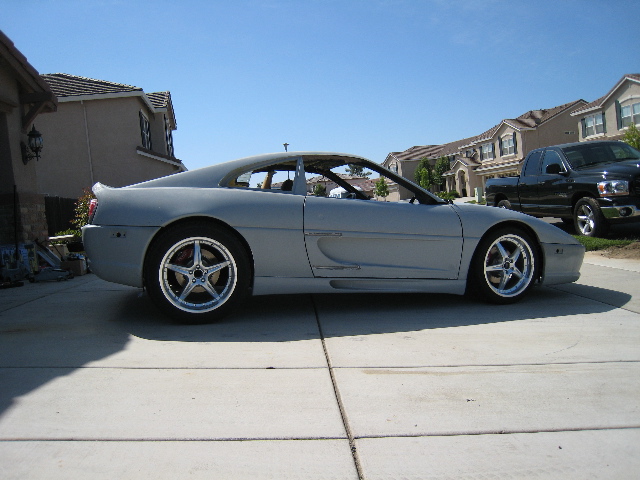
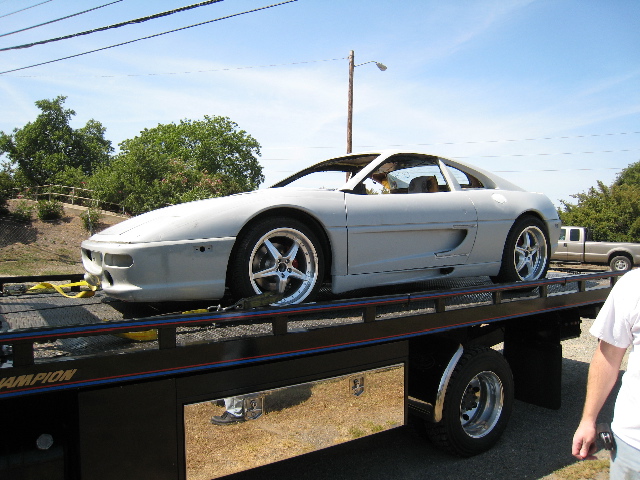
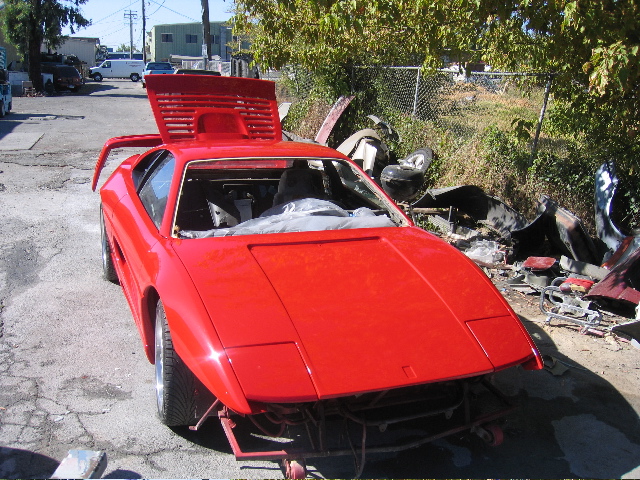
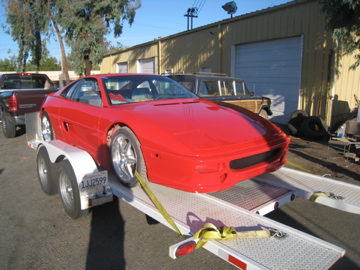
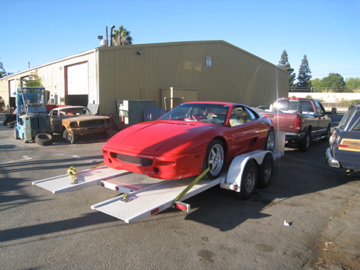
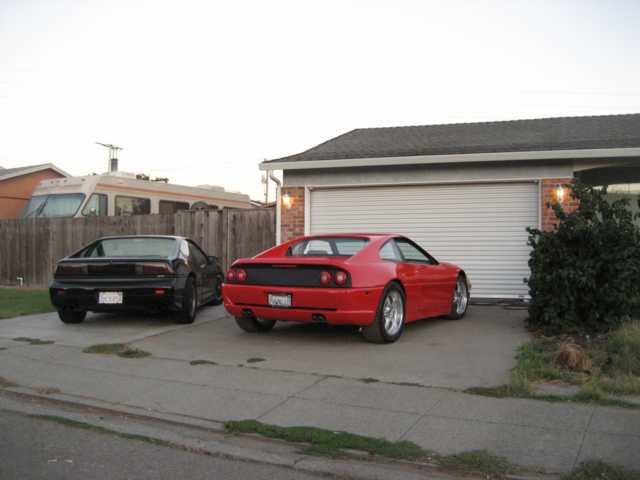
| On the trailer going home and in the driveway. | ||
 |
 |
 |
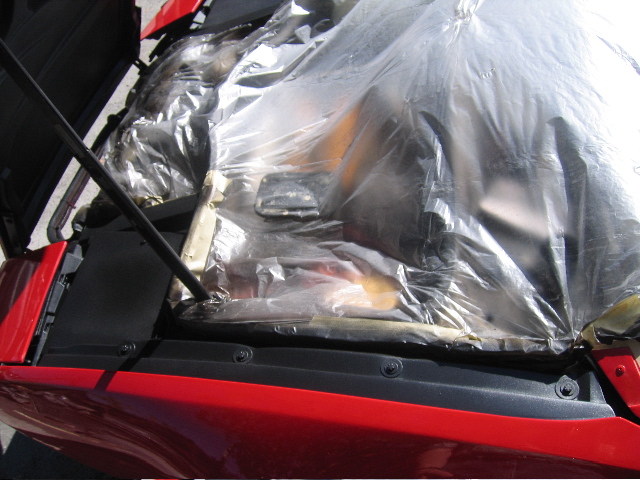
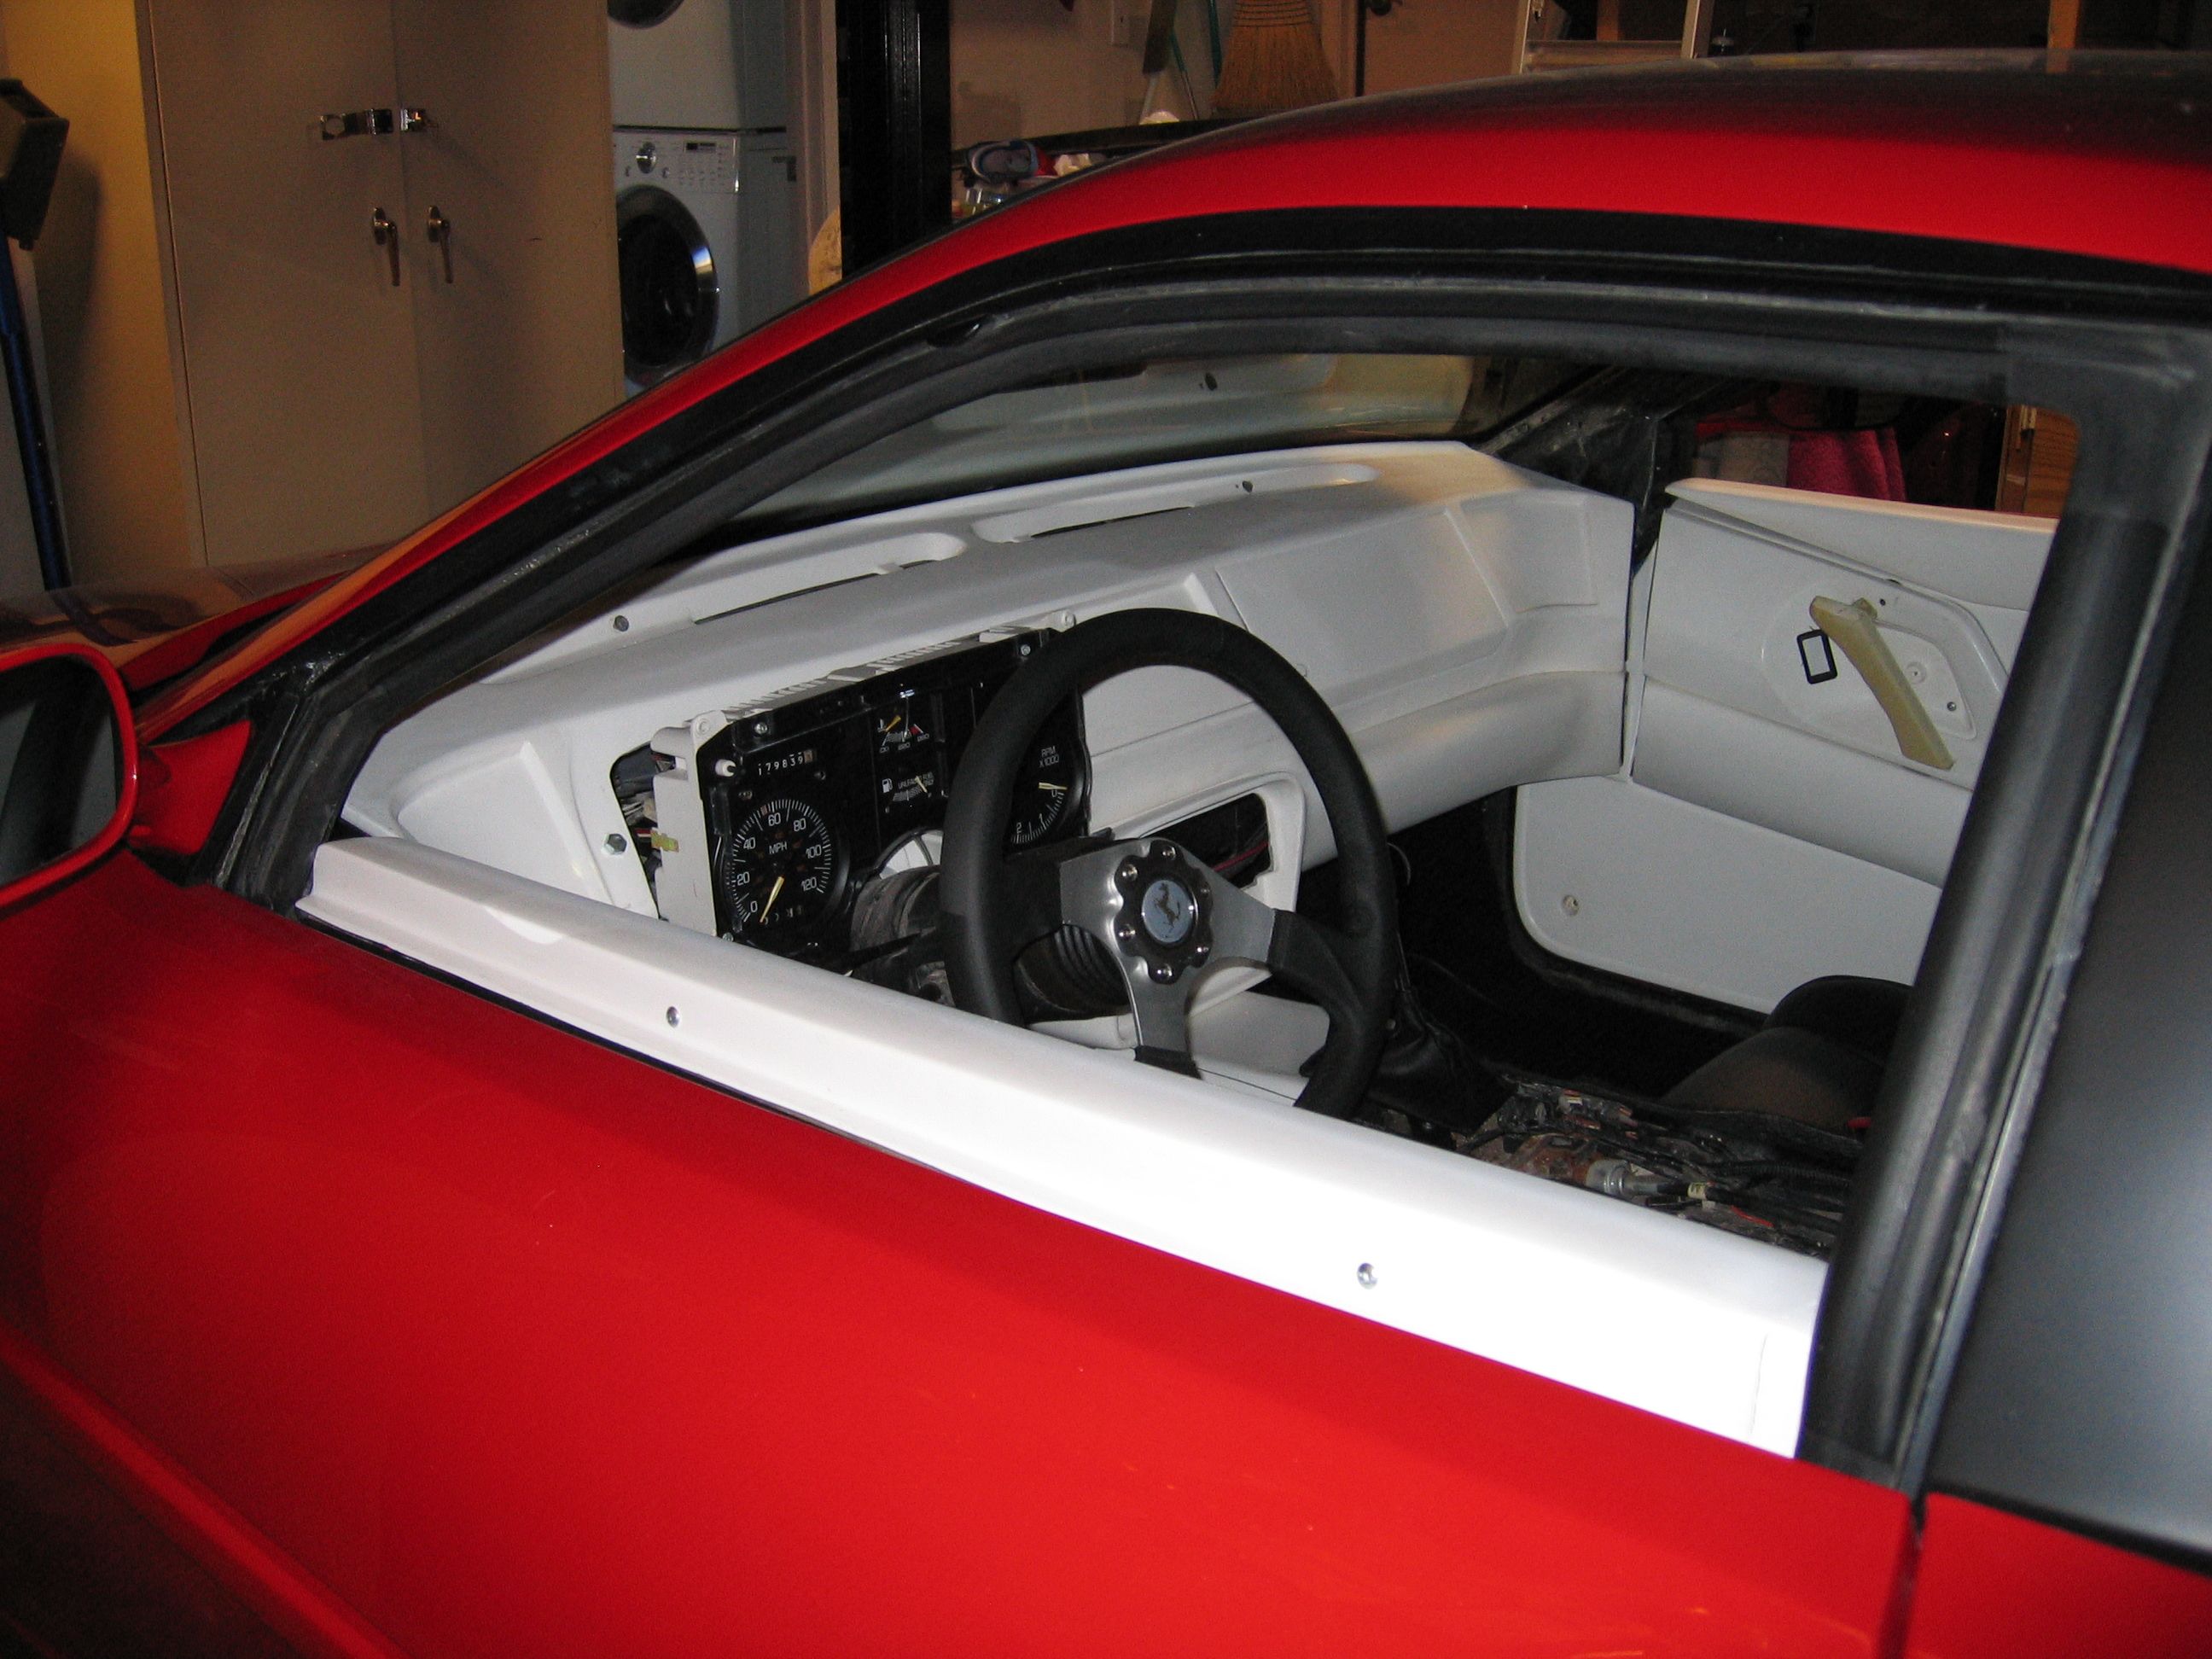
| Test fit interior. | |
 |
 |
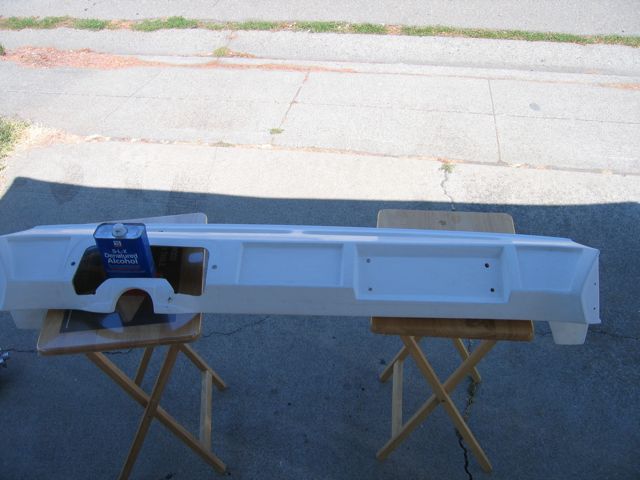
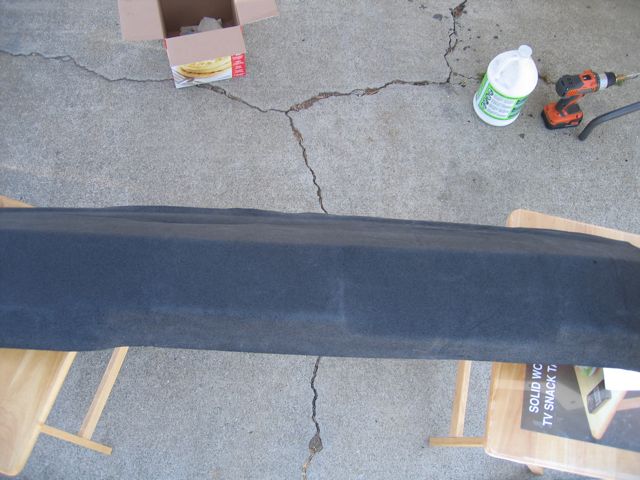
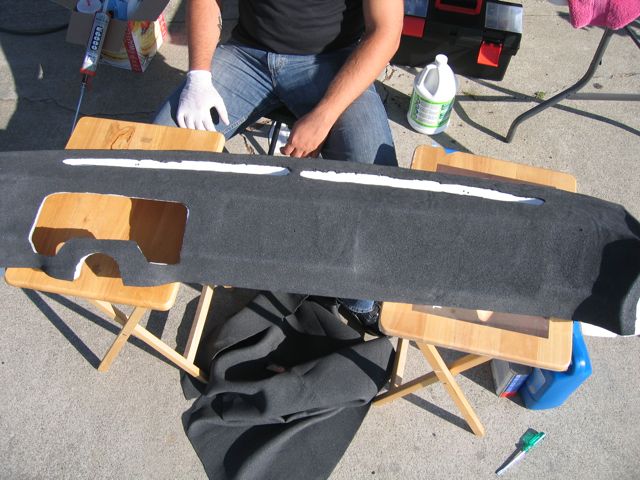
| Upholstering the dash | |||
 |
 |
 |
 |
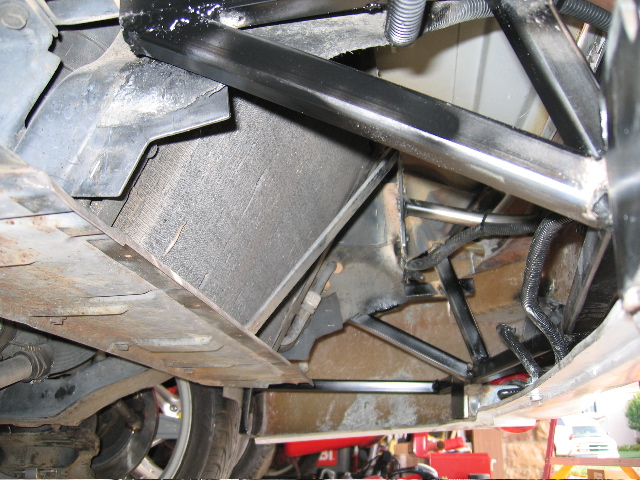
Bracket count:
- Front bumper to radiator rails (the big one) x1
- Front bumper support x1
- Front scrape bar x1
- Front bumper to fender to Fiero x4
- Radiator support to front box support x2
- Lower front bumper next to wheel to Fiero x2
- Lower front of front bumper to Fiero x2
- Head light to Fiero x 10
- Lower front of rocker to Fiero x2
- Upper front of rocker to fender to Fiero x2
- Rocker to Fiero next to door x6
- Rear rocker to rear clip to Fiero x4
- Rear bumper to rear clip to Fiero x4
- Lower Inner tail panel to Fiero x3
- Upper Inner tail panel to Fiero x4
- Rear bumper support bracket x1
- Deck lid hinge to Fiero x2
- Center bottom of rear bumper to Fiero x2
Total: 53
Still to make:
- Lower rear bumper next to wheel to Fiero x2
- Upper inner tail panel to Fiero x3
- Rear clip trunk to Fiero x2
- Rear clip to strut tower x2
© 2003-2012 Shane Williams. All rights reserved.